


Changing the color selection of a highlighted text can have a massive impact on the look of your site. Yet it is very easy to implement using the ::selection selector in CSS.
1) Open Your Project Settings
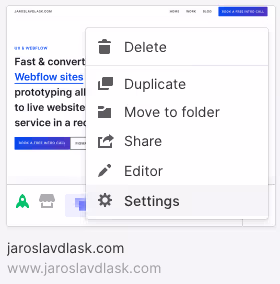
2) Switch to a Custom Code Tab

3) Copy This Code Snippet & Paste It at the End of the <head> tag
Adding a code at the end of the <head> in your project settings will affect your entire website. This way you can make sure that the highlighted text color is the same on all pages. However, if you wish to have a different selection color on the various pages, you can override it by adding this code with different parameters to the page settings head code. Make sure you put the code in between <style> and </style> tags.
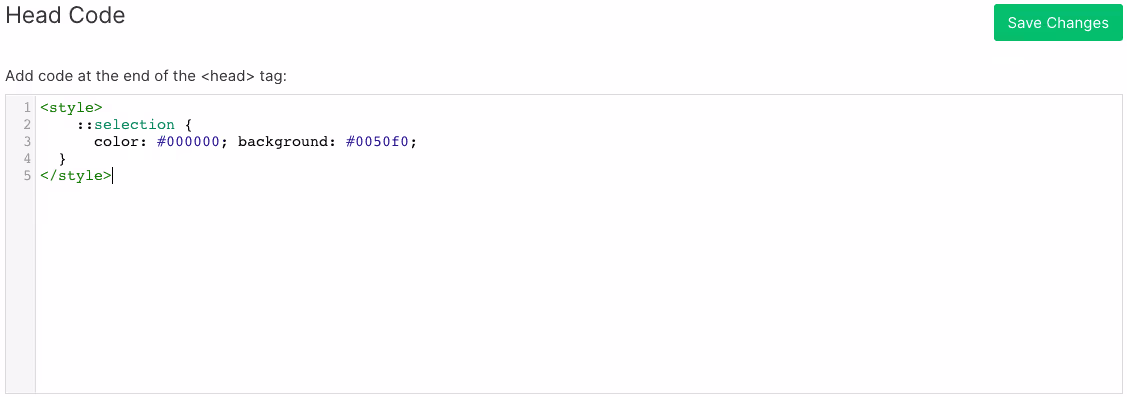
4) Edit the Color and Background Parameters
Replace the #000000 hex code to change the text color and #0050f0 for the background color. Make sure that the colors have sufficient contrast so the text remains readable. You can use this awesome tool to check the contrast. Make sure to hit the green ‘save’ button before finally publishing your changes.


